Showing posts with label Blossom Punch. Show all posts

Friday, August 17, 2012

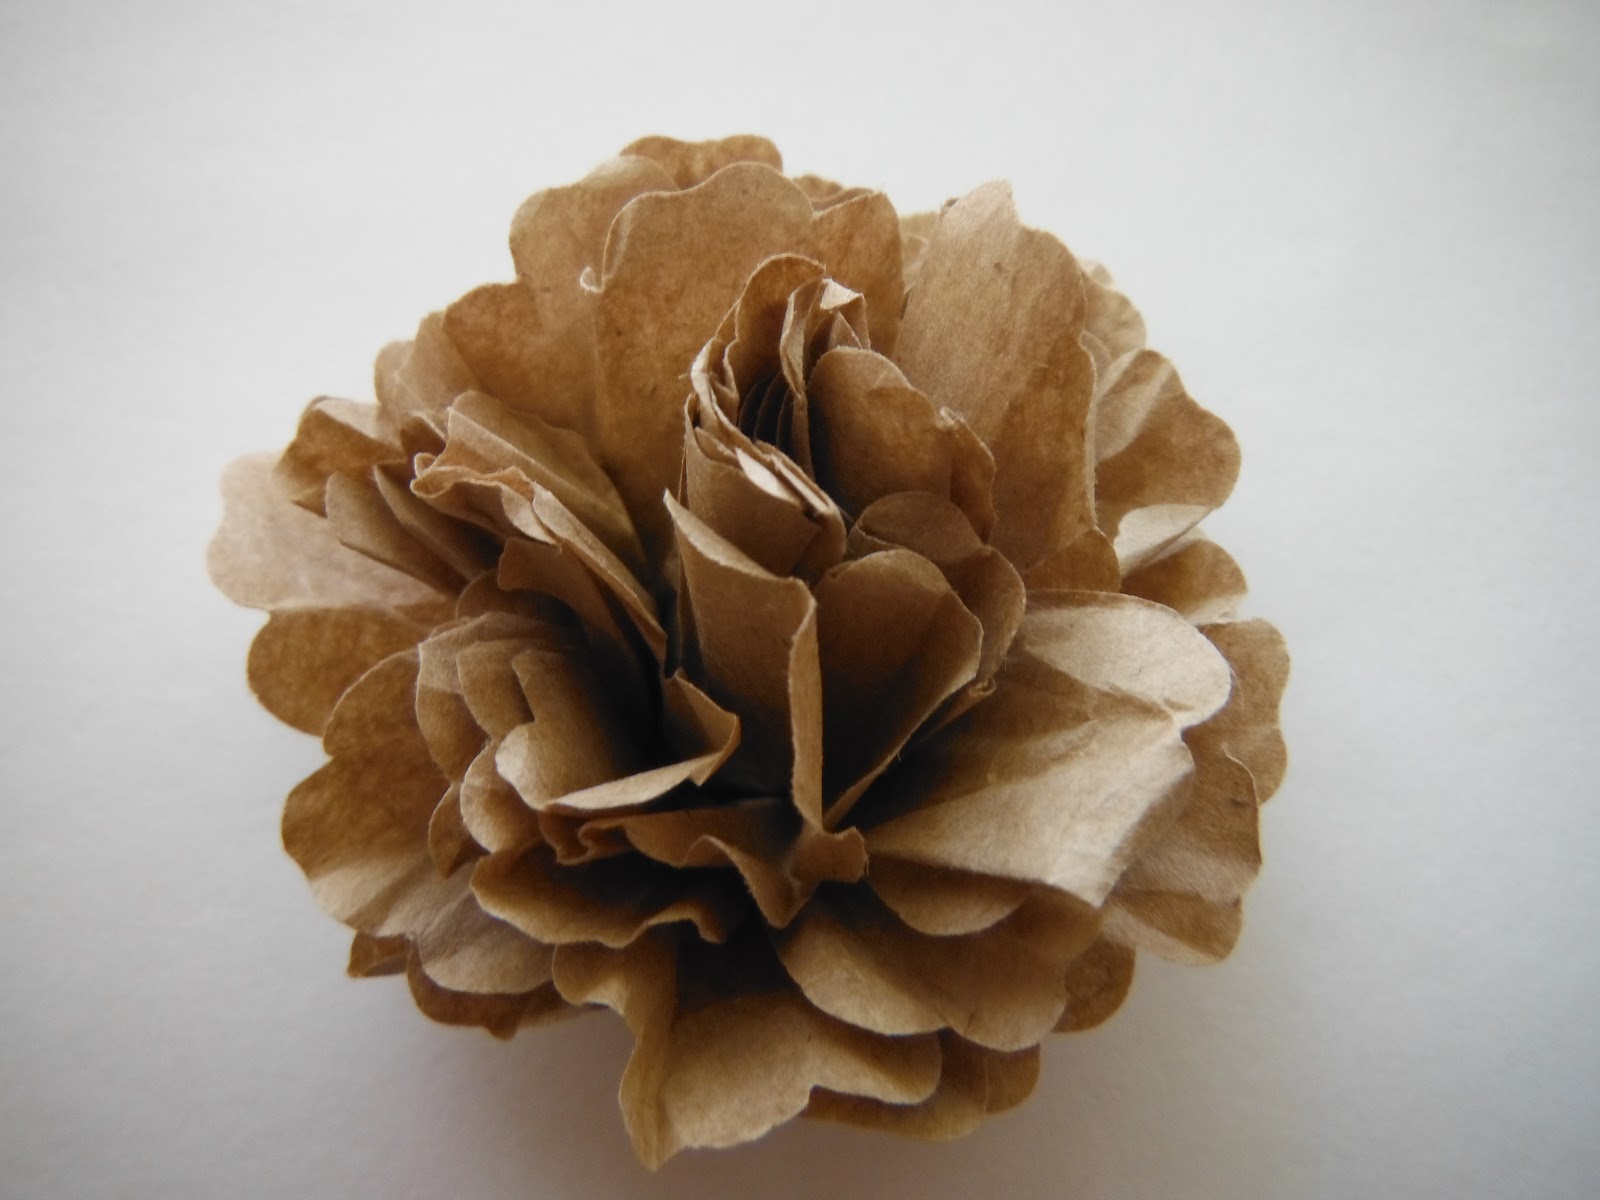
Blossom Punch Flower

Finished flower on a pizza box with belly band
This post will be a little picture heavy today so be forewarned! 

As I said in the previous post, this flower is made using the brown packing paper that comes in boxes when you order stuff, as opposed to those nasty styrofoam popcorn things! We heat with a wood stove so in the winter we use the brown paper packaging paper to start fires but in the summer, what do you do with it? Well, thanks to Brian King at Stamp with Brian I found at least one thing I can do with some of this paper!
When the paper comes it looks like this. It is just wadded up in the box to protect the contents. And a big wad it is!

So, I took my Blossom Punch (Brian used a Big Shot Die) and punched out 8 blossoms.
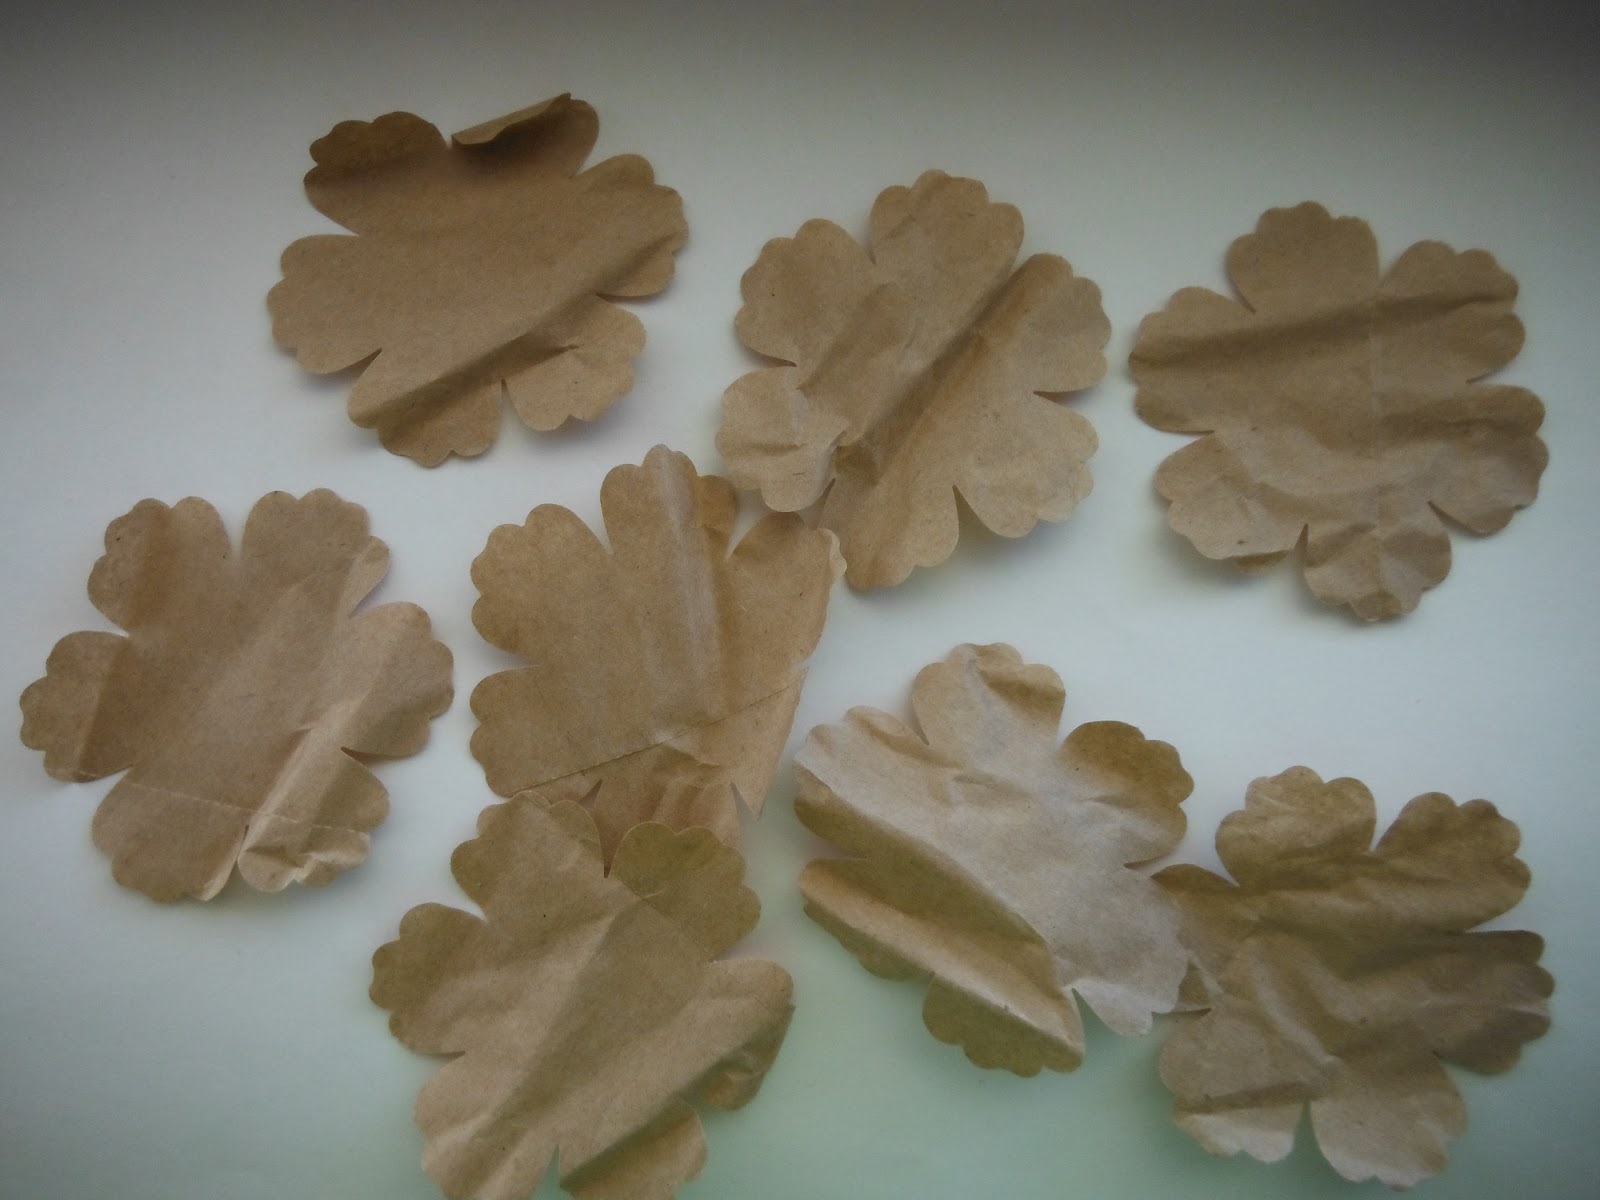


Now, I took the blossoms and stacked them on top of each other alternating them.


Now, using the Stampin' Pierce Mat and the Paper Piercing Tool, poke a hole right in the middle. Then put a small brad through the hole. It doesn't matter what kind of brad or what color it is because it's not going to show.


Now that we have the brad through the middle the fun begins! Start with the top layer and smoosh the petals toward the center as tightly as possible. Continue on with the next layer and continue until you have a squished little ball.


Doesn't look like much, does it?!! Now you start unfolding the petals starting with the outside layers but leaving the last three layers pretty tightly squished. Tada! You have a very cute flower that you can use on cards, boxes, bags...use your imagination!!!


Finished Blossom Punch Flower

I hope you enjoyed this mini picture tutorial and I hope you will try making some of these fun flowers. Corinne at Stamping with Roxy has a video tutorial on making similar flowers with Scallop Circle Punches (all 3 sizes) and card stock). Corinne's videos are very funny so if you haven't watched them, go take a look!

I hope you have a wonderful weekend and be sure to check back with me on Sunday evening for the Sunday Night Chit-Chat:)

Kat


Thursday, August 16, 2012

Blossom Punch Flower Tease

I have a super busy day today so tomorrow I will show you how to make this super cute flower out of the packing paper from my last stamping order! I can think of so many uses for this adorable flower; perfect for Fall. So I hope you pop back in tomorrow so I can show you how to make the flower for almost nothing (after you purchase the Blossom Punch, of course!)

Have a great day and thanks for stopping by today!

Kat

Wednesday, August 8, 2012

Summer Smooches Notepad Case

My Happy Stampers meet TONIGHT and I am sooo excited for them to see the projects I have for them! As promised, I will tell you which one of the Matchbook Post-it Holders I decided to use...both of them; well sorta! I decided to use the Lucky Limeade and Island Indigo but give the ladies a choice of which stamp set to use to decorate it! Now, how smart was that!!! I love choices, don't you? For the other two stamping club projects you will just have to wait because I don't want to spoil the surprise for the ladies:)

I am sure you're asking yourself what's up with that BORING picture Kat has up today?!!! For the last several months I have been giving the "hostess of the month" at stamping club a notepad case (when I remember to BUY the cases to make them). I found the idea and instructions on Jill Olsen's website Stamping Jill. For the video tutorial click HERE

The notepad case is made using:

  • one of Stampin' Up!'s Clear Mount Stamp Cases (4 for $5.95)
  • a piece of 10 1/2" X 7" piece of double sided Summer Smooches Designer Series Paper
  • a 5" wide note pad and you can either put an envelope inside to hold receipts or a Post-it note pad. Now, just a note about the notepads...take your ruler with you when purchasing the notepads. Staples sells one that says 5" X 8" but it is in fact 5 1/8" and won't work. The notepads at Office Max and Office Depot are the correct size but measure to be sure. They come in a package of 12 but since you want your notepad to be 7" long, not 8", you will need to ask them to cut 1" off your notepads.

Notepad Case closed

Since the notepad case looked a little BORING, I decided to add this little flower using the Blossom Punch with Lucky Limeade and Rich Razzleberry card stock. I topped it off with a button from the Brights Collection.  Now, what do you think my "hostess" will think of that?!!!

Are you curious to see the inside? 
Notepad Case open

See? Pretty paper on the inside too (thanks to double-sided dsp)! A full pad of Post-its won't fit with the notepad so I just peeled off about 2/3 of a pad to put in the case. I took a 2" x 5" strip of the same Summer Smooches dsp to wrap around the top of the notepad. I used Sticky Strip to adhere it. 

If you watch the video tutorial by Jill Olsen (Jackie Bolhuis is demonstrating the project on this video) you will see that you can really gussy this up. I will try to do one soon to show you what I mean. These notepad cases make wonderful gifts so I hope you make one soon.

Well, I'm off to get ready for my Happy Stampers Club! Have a wonderful day!

Kat