Showing posts with label Stamp with Brian. Show all posts

Wednesday, December 12, 2012

Snow Much Fun Card Plus

Swap card from Kathy Williams of Kingsport, TN
I decided to participate in Brian King's Holiday One-for-One card swap over at Stamp with Brian. If you haven't visited Brian's blog be sure to check it out. He is VERY talented and his posts can be quite amusing! And if you hurry on over and leave a comment on Brian's Monday post, you could win the new Stampin' Trimmer (Brian's having a birthday that ends in 0)! 

The card I received is the one pictured above from Kathy Williams and I love it! Even my husband commented on what a great job she did! So many nice elements to this card. Check out the beautiful snowflakes cut out of Silver Glimmer Paper with the Snow Flurry Bigz Die. They really dress this card up! She also used the Snow Burst Embossing Folder which is retired. 
Inside of swap card from Kathy Williams
Thank you Brian for sponsoring this swap! It inspired me to start a monthly swap with those on my email list!

Then, look what I got in the mail about a week later...


Brian King sent ME a Christmas card!!! I feel like I got a Christmas card from a celebrity!!! Not really, but I really do enjoy his blog:) This card would be so super quick and easy to make which is Brian's style. Most of his cards are what we call Clean and Simple but that doesn't always mean easy! Thank you, Brian for this super cute Christmas card!

Well, I am off to get ready for my Happy Stampers Club tonight! Tonight we will be making gift tags and each person can go home with as many as they care to stay and make! I have many errands to do beforehand so best get to it! 

I will be back tomorrow with my weekly Thankful Thursday post! Have a great day and thanks for stopping by.

Kat

Tuesday, December 11, 2012

Not a Creature was Stirring


I love getting cards that other people make...my Happy Stampers, friends, my downline, swaps...it's just fun to see other people's work up close and personal! Saturday night a dear friend and one of my downline gave me the card above from her two daughters, Mara and Elsbeth. I couldn't believe how incredibly cute it is!!! Mara made the card and she is quite the artist as well as a skilled papercrafter! The big mice were made with the Stampin' Up! Ornament Punch while the small mice were made with the ornament punch from the Merry Minis Punch Pack.

Mara lettered the wording on the card by hand and it is very artistically done. Good job, Mara! In the photo above you can also see how she used one of the shapes from the Itty Bitty Punch Pack to make the little ball on the hat. She also sponged a lot of the pieces to give the card dimension.


The inside of the card (above) and one last photo of those precious little baby mice...


...Nestled into their bed of red felt and white tissue paper. I am saving this card to perhaps use as one of our Happy Stampers projects for next year! 

Thank you Mara and Elsbeth for this adorable card!

Tomorrow I will show you the card I got from Brian King's One-on-one Swap but now I'm off to finish up my projects for tomorrow's Happy Stampers Club!

Have a great day!

Kat

Wednesday, November 14, 2012

Ornament Keepsakes


Hooray! My Happy Stampers meet tonight!!! I enjoy our time together--lots of laughs, food, and crafting, of course! Such a great bunch of ladies! I LOVE being their Stampin' Up! Demonstrator!!!

I love the simplicity of today's card! It is a swap card I made but not saying who it's going to so I don't spoil the surprise:) My club/team started a swap this month plus I am sending a card for Brian's swap at Stamp with Brian. So fun to get the cards from other people who have such GREAT ideas and are sooo talented!


Did you know that Mary Fish's Stampin' Pretty Pals are having a blog hop?!!! You won't want to miss it! There are 25 stops so grab a cuppa, put your feet up and start The Pals Blog Hop. I am not part of the blog hop but didn't want you to miss out on all the amazing projects they have to show. Okay, I think my ADD kicked in so better get back to MY card!

For this card I used the following Stampin' Up! products:

  • Card stock: Whisper White, Gumball Green and Cherry Cobbler
  • Ornament Keepsakes stamp set
  • Cherry Cobbler Classic Stampin' Pad
  • Big Shot with Holiday Frame Embossing Folder and Holiday Ornaments Framelits Dies
  • Other: Dimensionals (of course), Basic Pearl, Cherry Cobbler Bakers Twine and spritzed with spray made with Champagne Shimmer Paint and rubbing alcohol.
This card is so easy it wouldn't take any time at all to make 50 of them for family and friends! 

Have a great day! I will be back tomorrow with one of our Happy Stampers Club projects! Sure to please!!!

Kat

Friday, August 17, 2012

Blossom Punch Flower

Finished flower on a pizza box with belly band
This post will be a little picture heavy today so be forewarned! 

As I said in the previous post, this flower is made using the brown packing paper that comes in boxes when you order stuff, as opposed to those nasty styrofoam popcorn things! We heat with a wood stove so in the winter we use the brown paper packaging paper to start fires but in the summer, what do you do with it? Well, thanks to Brian King at Stamp with Brian I found at least one thing I can do with some of this paper!
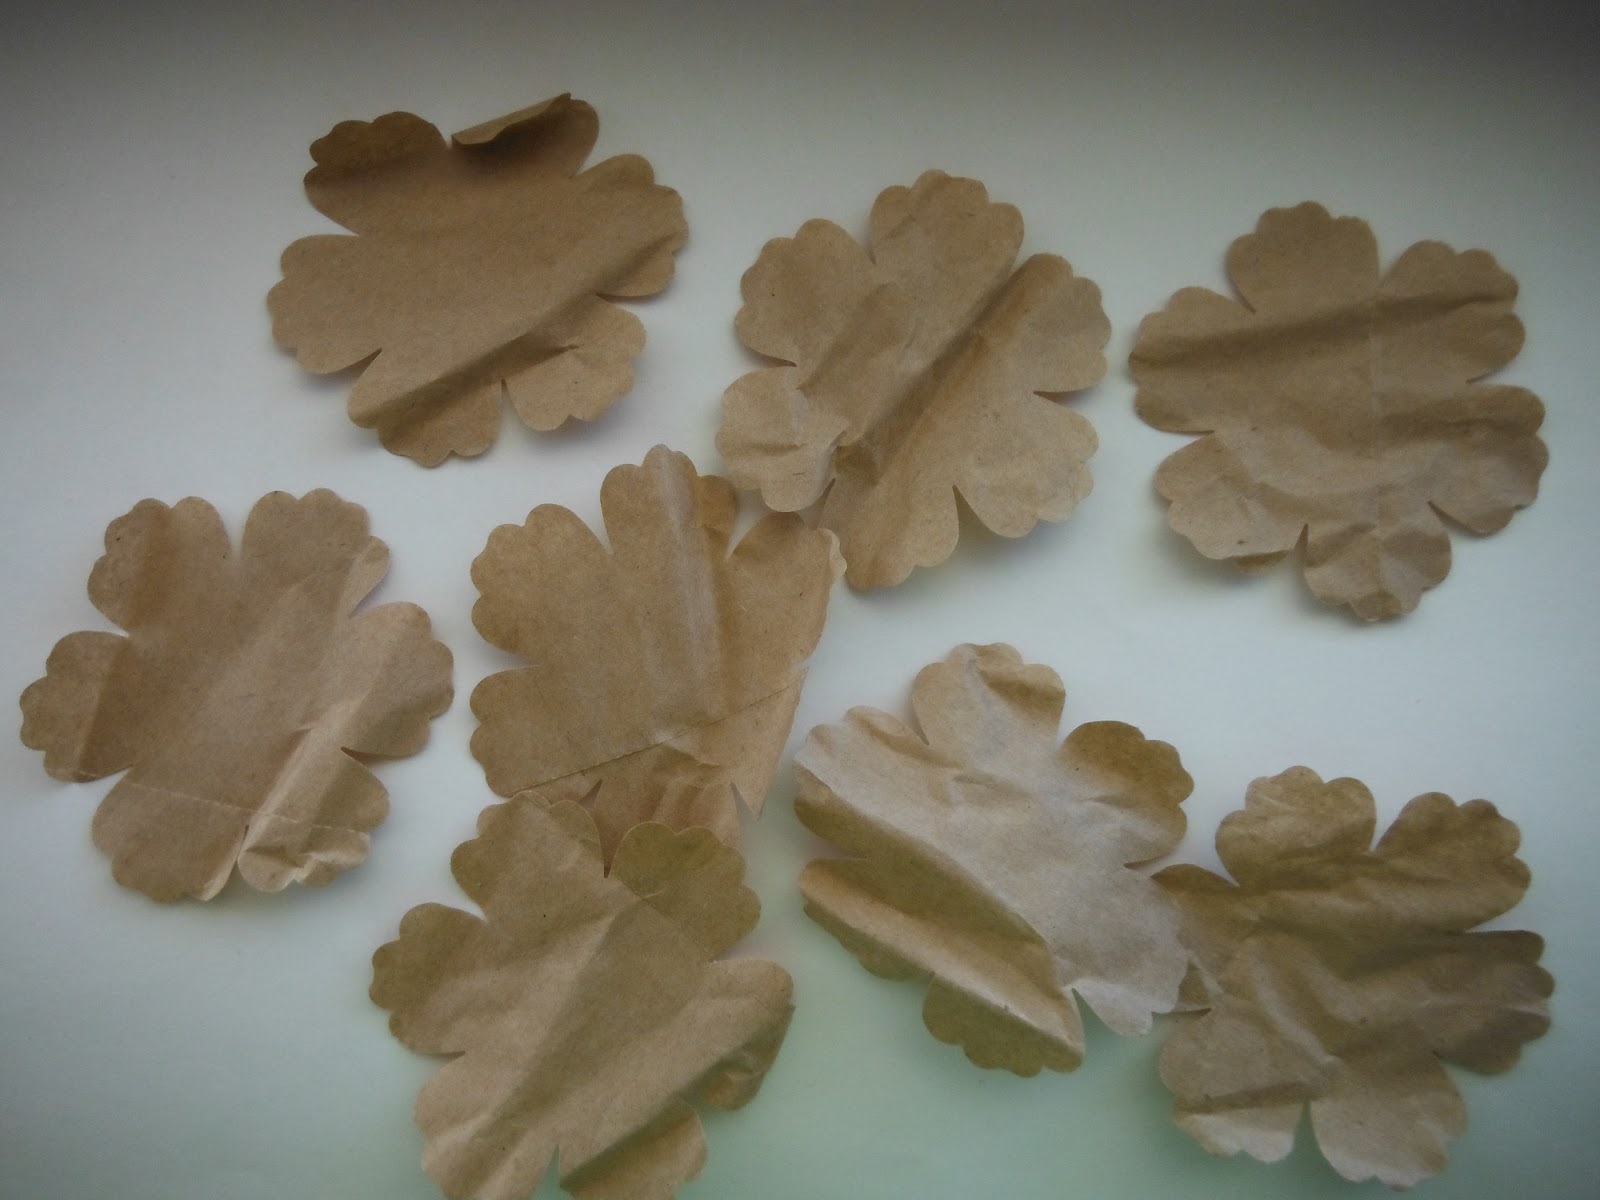
When the paper comes it looks like this. It is just wadded up in the box to protect the contents. And a big wad it is!

So, I took my Blossom Punch (Brian used a Big Shot Die) and punched out 8 blossoms.


Now, I took the blossoms and stacked them on top of each other alternating them.


Now, using the Stampin' Pierce Mat and the Paper Piercing Tool, poke a hole right in the middle. Then put a small brad through the hole. It doesn't matter what kind of brad or what color it is because it's not going to show.


Now that we have the brad through the middle the fun begins! Start with the top layer and smoosh the petals toward the center as tightly as possible. Continue on with the next layer and continue until you have a squished little ball.


Doesn't look like much, does it?!! Now you start unfolding the petals starting with the outside layers but leaving the last three layers pretty tightly squished. Tada! You have a very cute flower that you can use on cards, boxes, bags...use your imagination!!!


Finished Blossom Punch Flower

I hope you enjoyed this mini picture tutorial and I hope you will try making some of these fun flowers. Corinne at Stamping with Roxy has a video tutorial on making similar flowers with Scallop Circle Punches (all 3 sizes) and card stock). Corinne's videos are very funny so if you haven't watched them, go take a look!

I hope you have a wonderful weekend and be sure to check back with me on Sunday evening for the Sunday Night Chit-Chat:)

Kat


Thursday, July 19, 2012

Happy Stampers for July

My Happy Stampers met last night and we had a great time as usual! I love those ladies!!!


I have seen easel cards on the stamping blogs for a long time but was afraid to make one because they looked difficult. On morning when I was blog hopping I came across a beautiful card made by Brian King at Stamp with Brian so decided to take the plunge and try the easel card. Brian suggested the tutorial from Split Coast Stampers and he was so right! Their tutorial was easy to follow and the card turned out to be easy peasy! I was very happy with the way my card turned out and will be making more easel cards in the future for sure!
Side view


For this card I used the following Stampin' Up! products:

  • Card stock: Basic Black, Whisper White, Melon Mambo and Pretty in Pink
  • Stamp sets: Perfectly Penned, Mixed Bunch
  • Classic Stampin' Pads: Basic Gray and Melon Mambo
  • Other: Basic Rhinestone and lots of dimensionals
I think I might send my card to my sister-in-law for her birthday:)

Have a great day! I'll be back tomorrow with another of our Happy Stamper's projects! Kat